Week 3: Exploring Scrapbook Materials and Tools
This week, I focused on learning the basics of scrapbooking by exploring different materials, tools, and techniques. I researched the supplies used in scrapbooking and looked through my mom’s collection to see what I could use. I also planned some small experiments to compare different papers, adhesives, cutting tools, and decorations to learn what works best.
Scrapbooking paper:
Cardstock: Thick, sturdy paper often used as the base of scrapbook pages or to create borders around pictures. On the Michaels website, packs of cardstock generally range from $10–$30, while individual sheets cost around $2–$3. Patterned Paper: Decorative paper that comes in different colours, designs, and textures. It can be used for backgrounds, borders, and layering. On the Michaels website, packs of patterned paper range from approximately $8–$35, while individual sheets cost around $2–$5.
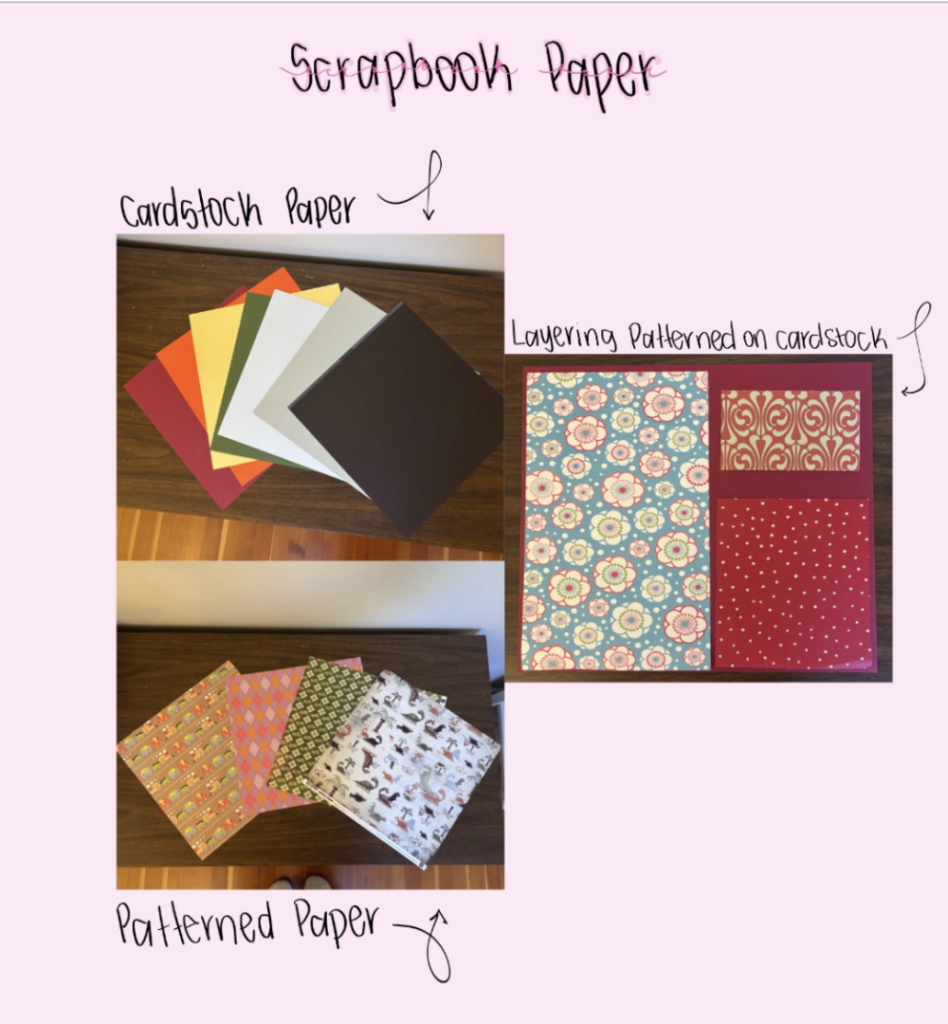
What I learned: I found that cardstock worked well as a strong base and created a nice border around the patterned paper, while the patterned paper added colour and personality to the page.
Adhesives:
Glue Sticks: Used to attach lightweight paper and decorations. However, some glue sticks may cause paper to wrinkle or become less effective over time. I am using an Elmer’s glue stick, which cost $3.38 at Walmart. Double-Sided Tape: Used to attach paper and decorations without leaving visible glue marks. I am using my mom’s E-Z Runner White Permanent Strips, a tape runner commonly used for scrapbooking, card making, and other paper crafts. Similar products cost approximately $8–$10 on Amazon. Mono Liquid Glue Pen Tip: A liquid adhesive with a small, precise tip that allows glue to be applied to small areas. It is useful for attaching detailed cutouts, small decorations, and pieces of paper. This product costs approximately $12 at Michaels.
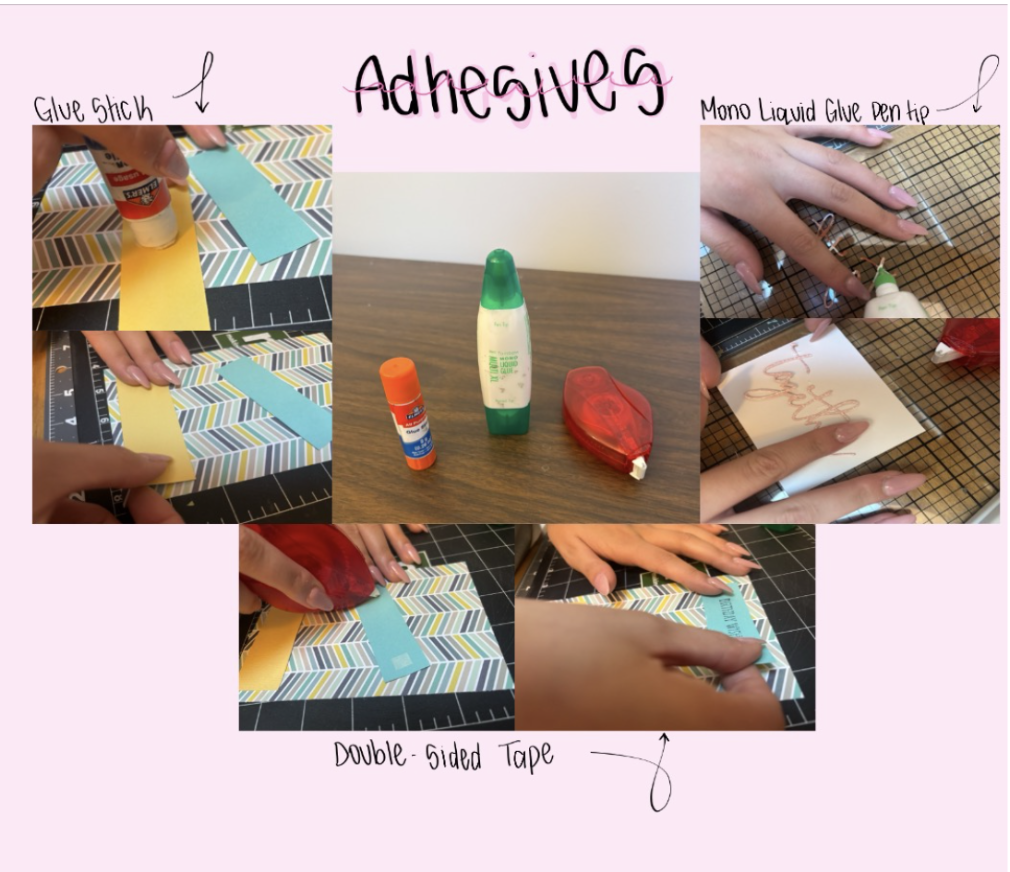
What I learned: I found that the glue stick was a bit messy and took a while to dry, however it was the cheapest option. I really enjoyed using the double-sided tape because it did not need to dry, and I could still reposition the paper a little before it fully stuck. I also learned that using the Mono Glue Liquid Glue Pen was most useful for attaching small pieces and 3D decorations. The pen also dried clear, which helped keep my scrapbook page look clean.
Cutting Tools:
Regular Scissors: Used to cut photos, paper, and decorations into different shapes and sizes. For my scrapbooking journey, I will be using my mom’s Fiskars 4-inch orange-handled detail/embroidery scissors, which cost approximately $20–$22 at Michaels. Paper Cutter: Helps create straight lines and accurate cuts when trimming paper. I will be using my mom’s Tonic Studios paper trimmer, which costs approximately $15–$25 at Scrapbook Essentials. Decorative Scissors: Have different blade patterns that create wavy, zigzag, or scalloped edges. A two-pack of decorative scissors costs approximately $8 at Michaels. Craft Punches: Used to cut out repeated shapes, such as circles, squares, tags, hexagons, and ruffled squares. My mom has many craft punches in different sizes and shapes. Prices can range from approximately $15–$45, depending on the size, design, and shape.
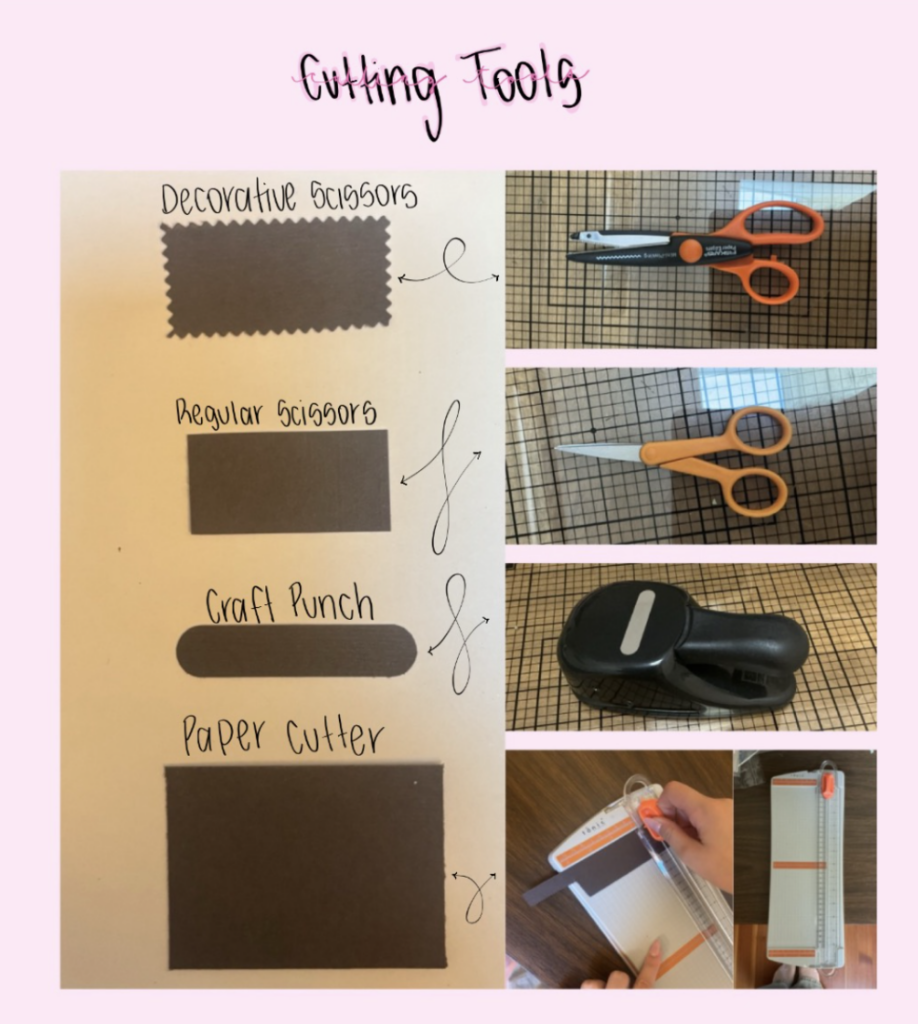
What I learned: I found that I really liked using the decorative scissors because it added some artistic design to the paper and was easy to use. Using the regular scissors was useful for cutting out small pieces of a larger piece of paper, while the paper cutter made it easier to make clean and straight cuts on a larger piece. I also found the craft punches were a great option for creating perfect shapes quickly instead of trying to cut them out with regular scissors by hand.
Decorations and Embellishments:
Stickers: Add pictures, words, and decorations to scrapbook pages without needing additional adhesive. Prices vary depending on the material, size, and number of stickers. A standard sticker collection costs approximately $15 at Michaels. Washi Tape: Decorative paper tape used for creating borders, framing photos, and layering designs. Packs of washi tape at Michaels generally cost around $10–$20. Ribbons: Add texture to scrapbook pages and can be used as borders or decorative accents. A standard roll of ribbon, approximately one inch wide, costs around $7 at Michaels. Stamps: Create repeated images or words using ink, making it easy to add consistent designs to scrapbook pages. Stamp sets at Michaels range from approximately $10–$30, while an ink pad costs around $6.
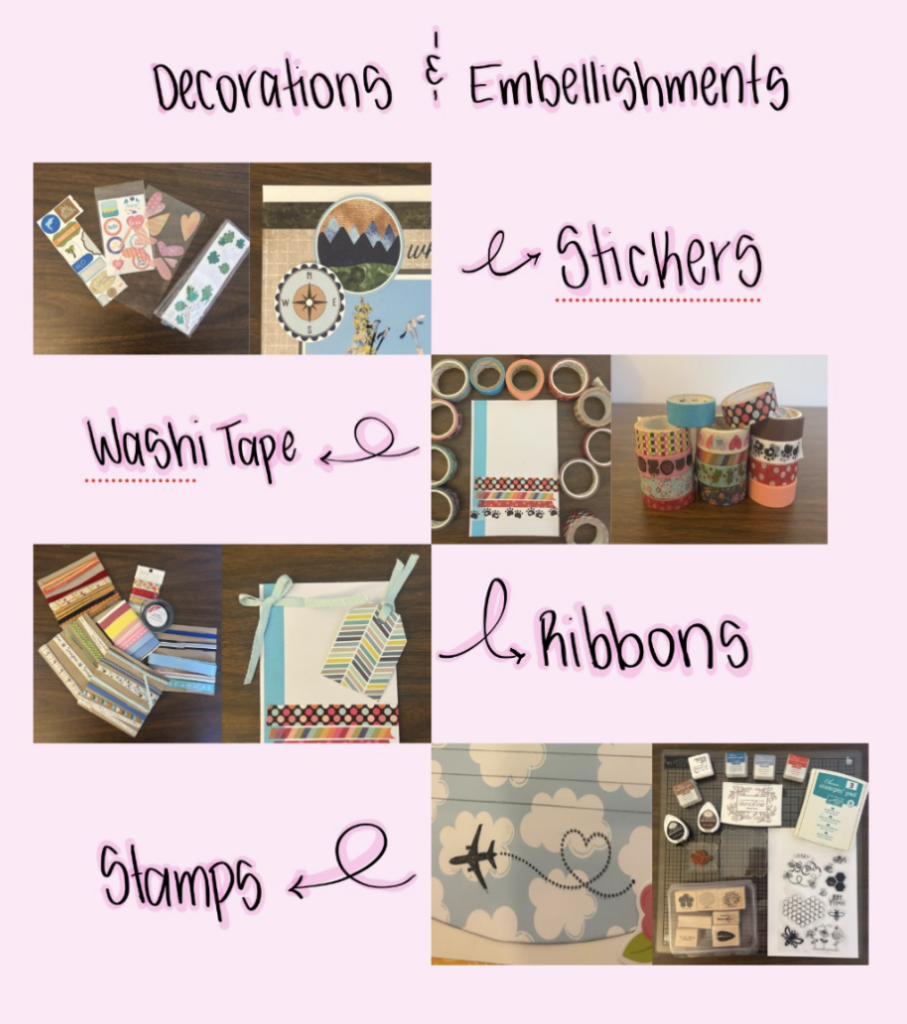
I learned: I learned that using decorations is so much fun! I love how many different things you can use to decorate a scrapbook page. Stickers are easy to use and complement the page, while washi tape can act like a border and add extra decoration. The ribbons are also really cute and can be made into bows or used as tags. The last decoration I experimented with was stamps. My mom has a huge collection of stamps, and I enjoyed looking through her scrapbooks to see the different ways she had used them. One example is shown in the image, where she used stamps to create a plane.
What? So What? Now What?
What? This week, I researched different scrapbooking materials and tools, including paper, adhesives, cutting tools, and decorations. I also experimented with the supplies my mom already had and took pictures to show how each one worked.
So What? I learned that different materials have different purposes, and choosing the right supplies can make scrapbooking easier and more creative. I also discovered which tools I enjoyed using most and how small details, like layering paper and adding decorations can make a page more interesting. Looking through my mom’s supplies and scrapbooks also gave me inspiration for my own designs.
Now What? Next, I want to start planning and creating my own scrapbook page using the techniques I learned this week. I hope to become more confident choosing colours, arranging pictures, and combining different materials. I also want to continue learning how to make my pages creative while keeping them organized and meaningful.